Creating SOAP Service with SSL
In this post I am going to explain you how to create simple SOAP service in tibco business work with SSL configuration.
Before going into details I am assuming that you have basic knowledge of SOAP wsdl terminologies.
Let’s start with Step by Step approach.
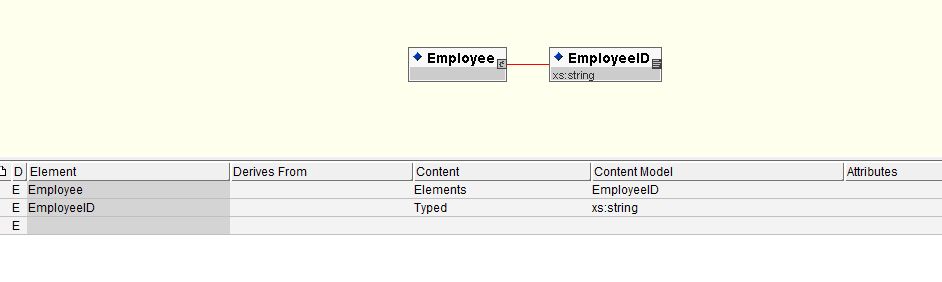
Step 1: Creating simple input Schema of Employee that has EmployeeID as String
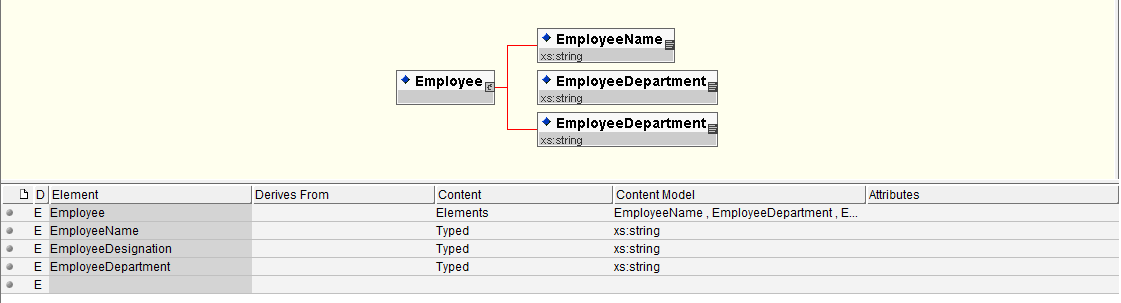
Step 2: Creating simple output Schema of Employee that has EmployeeName, Department, and Designation as xml elements.
Step 3: Create Abstract WSDL
For creating abstract wsdl follow following steps
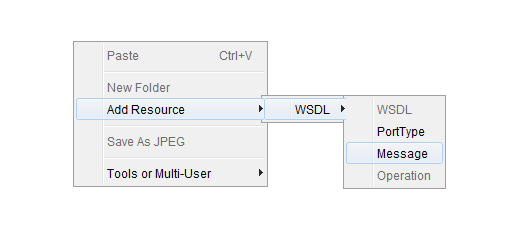
1. Right click on designer Add Recource->wsdl->wsdl
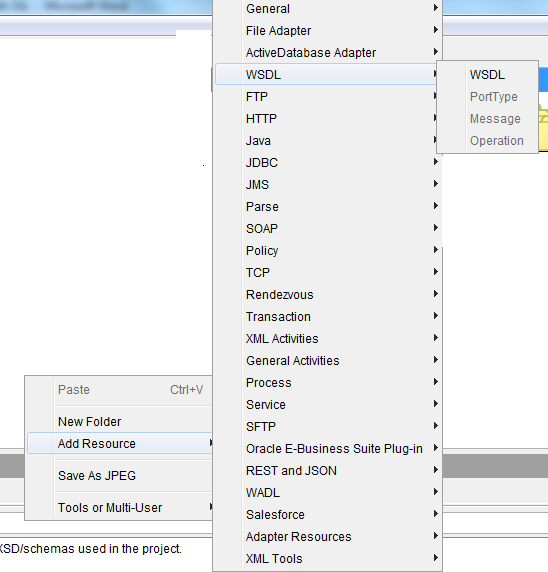
2. Double click the wsdl and then add resource Message as shown in below figure
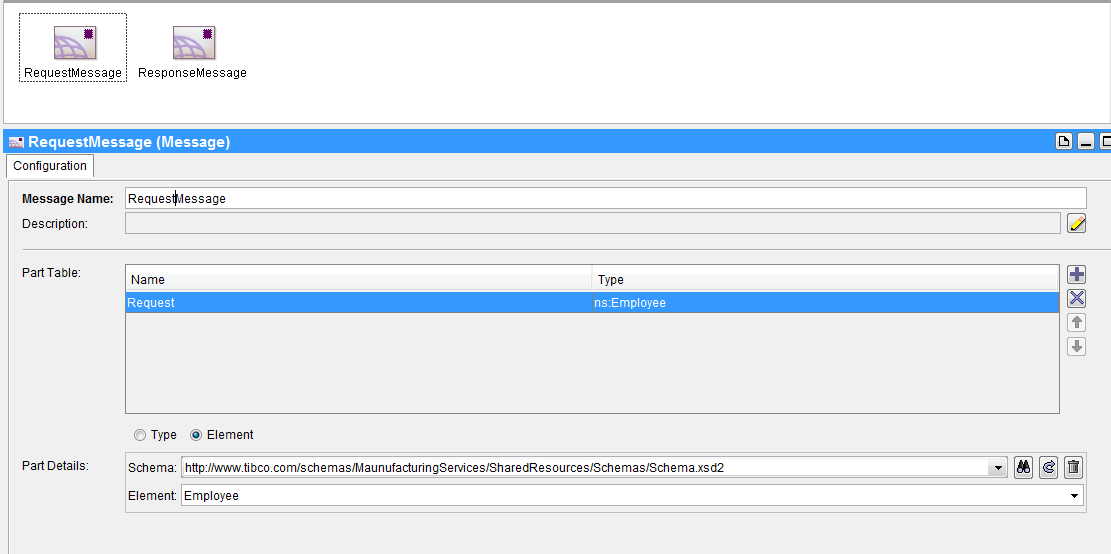
3. Create 2 messages one Request and other Response and configure message with schema already created in above step
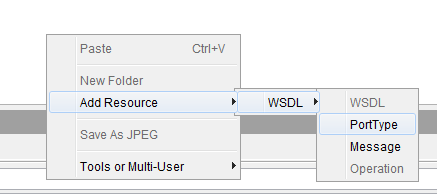
4. Create operation by right clicking Add Resource->wsdl->porttype.
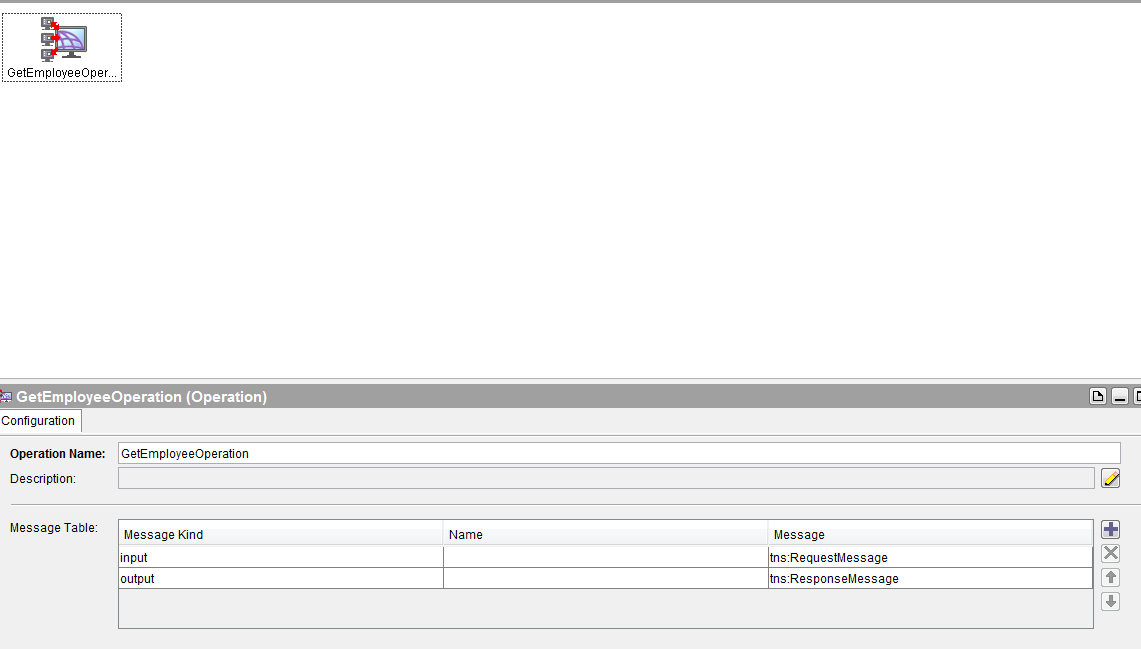
5. Create the input and output Message by selection wsdl RequestMessage and ResponseMessage.
Now I am going to create Self sign Certificate that will be used in SSL configuration of HTTP connection. For creating self-sign certificate I am using java key tools which is located under Tibco home jre
C:\TibcoHome\tibcojre64\1.7.0\bin
To generate a key file with both Public and Private keys; use following command:
keytool -genkey -keyalg RSA -alias test_certificate -keystore keystore.jks -storepass tibco@test-validity 360 -keysize 2048
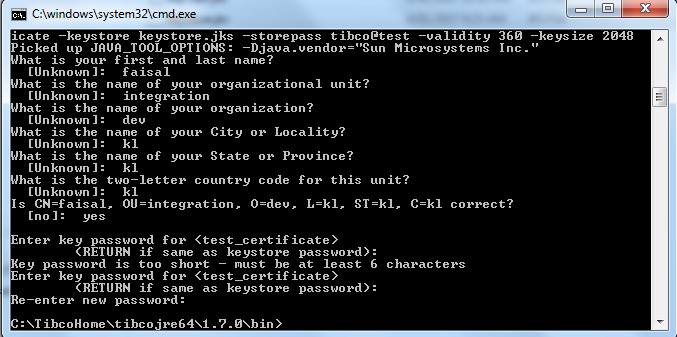
- Aliasis used to give a name to your key. It should be unique for its purpose.
- keyalgis encryption algorithm type. Here it is RSA.
- storepassis the password affiliated to the repository.
- jksis name of the file which acts as repository keys.
- validity specified as 360 means this certificate will remain valid for 360 days.
By running this command keystore.jks file generated at tibcohome/jre/version/bin/keystore.jks

Now the next step is to extract the public key by using command
keytool -export -alias test_certificate -storepass tibco@test -file test_server.cer -keystore keystore.jks
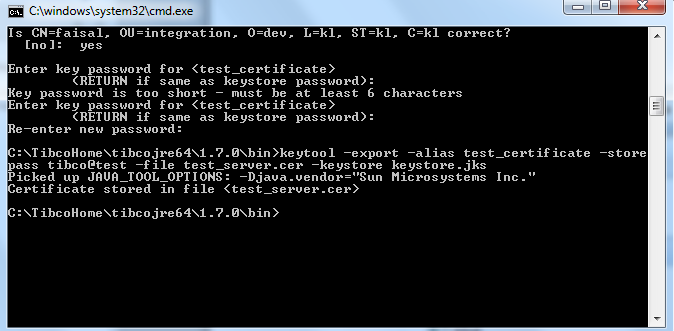
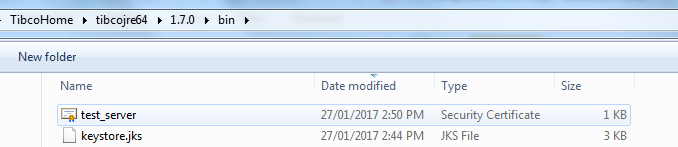
Now we have our Public key in certificate file (test_server.cer). We can give this certificate file to any client who wants to communicate with our server where we will have the key installed.
Install SSL Certificate Key on Server Side:
For installing certificate I am creating identity from general resource pallet and configure the identity as shown in below figure
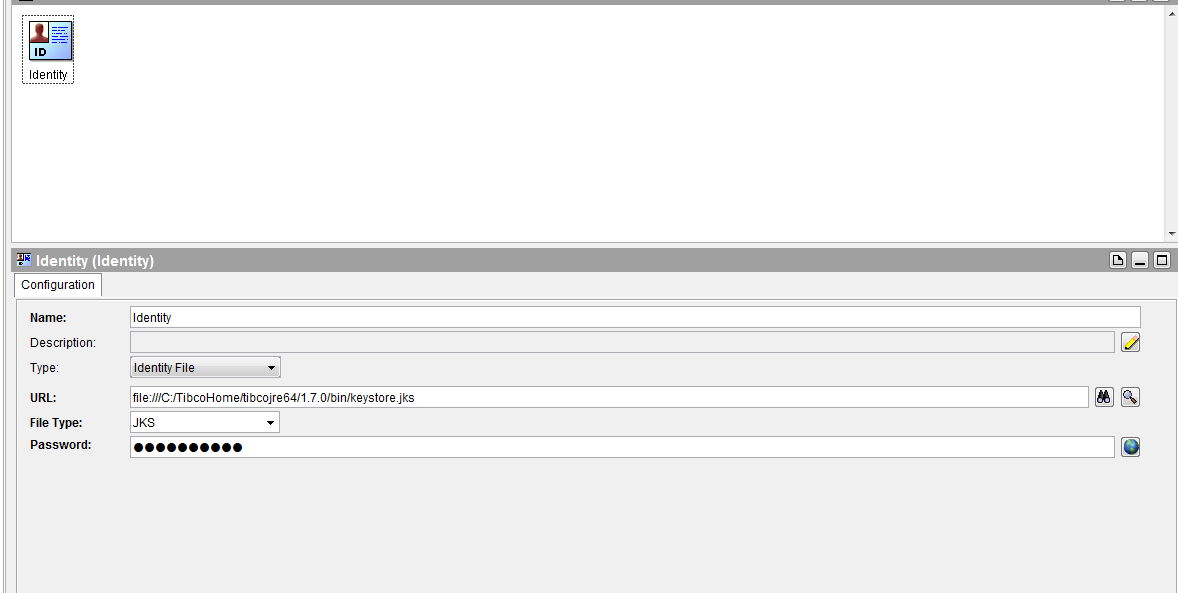
Now go to Httpconnection configuration click on ssl and give this identity resource in identity configuration.
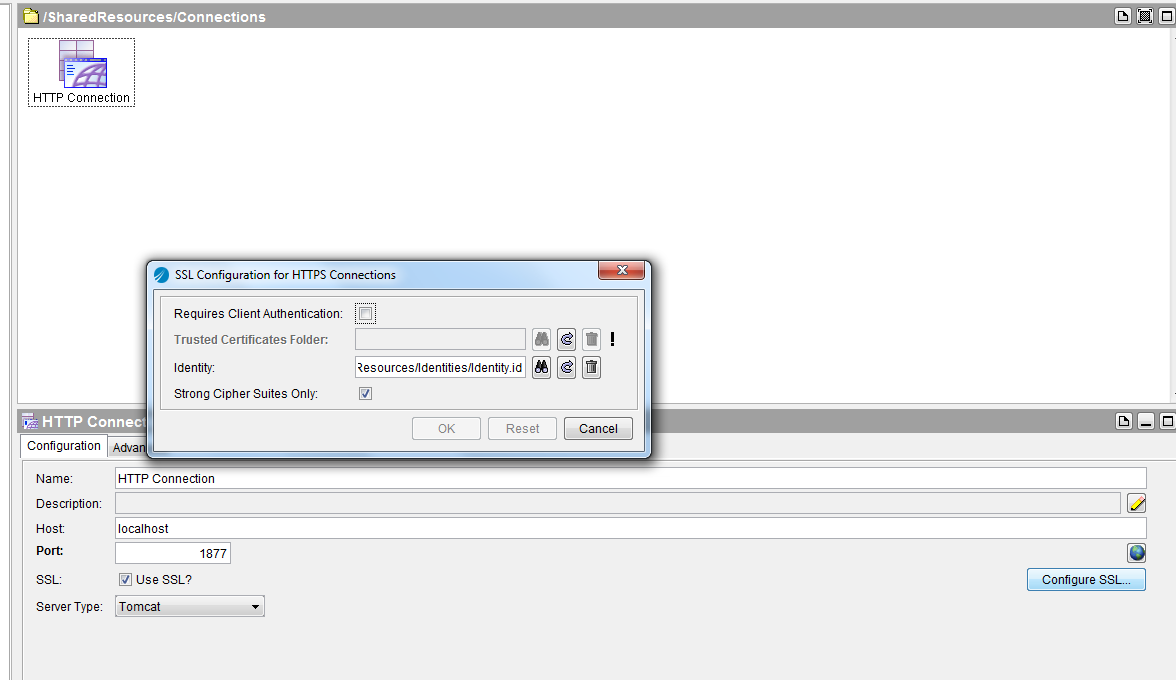
This completes our ssl configuration.
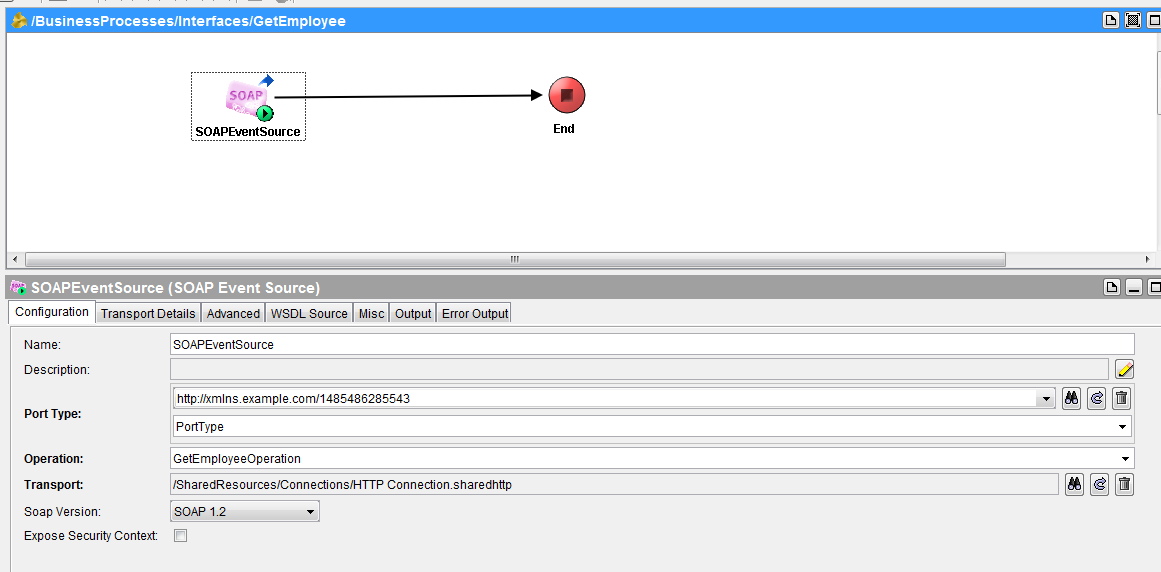
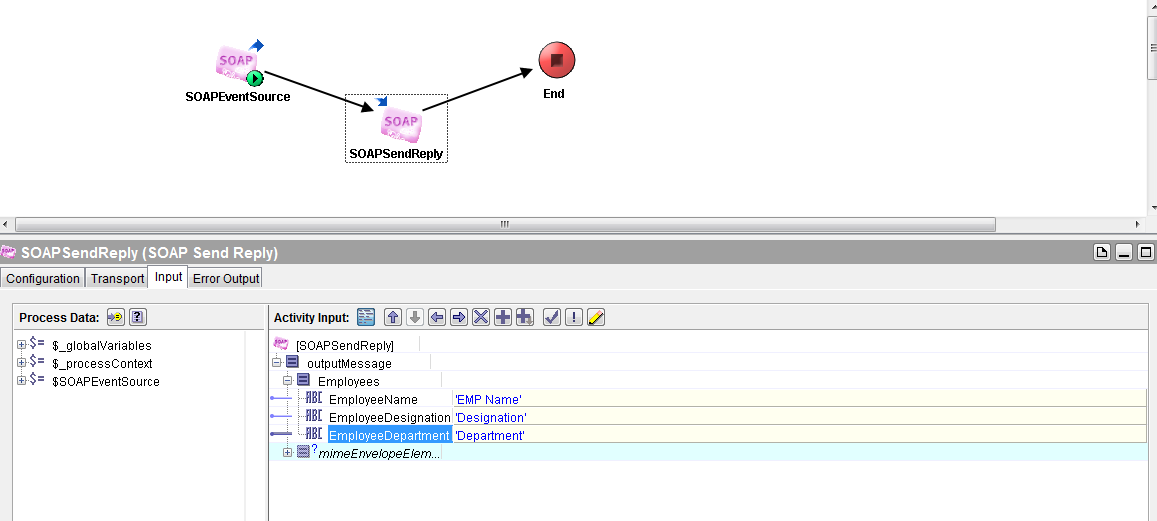
Next step is to create process that accept soap message over https. For this I am creating a simple process with soap event source.
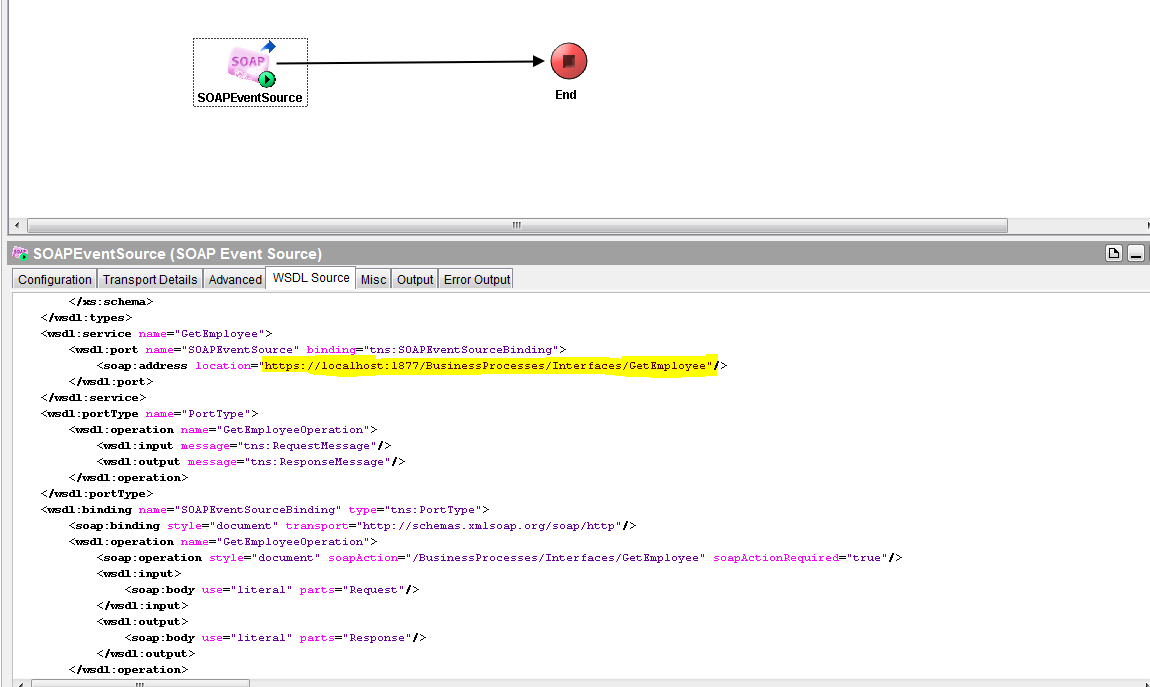
You can check the wsdl Source tab and see the endpoint url exposed for client
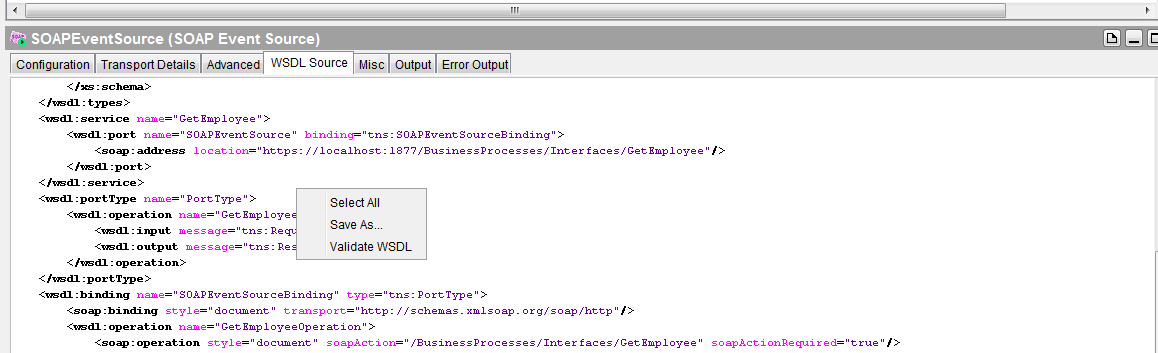
Right click on wsdl source validate and save the wsdl.
Add reply activity and configure as below
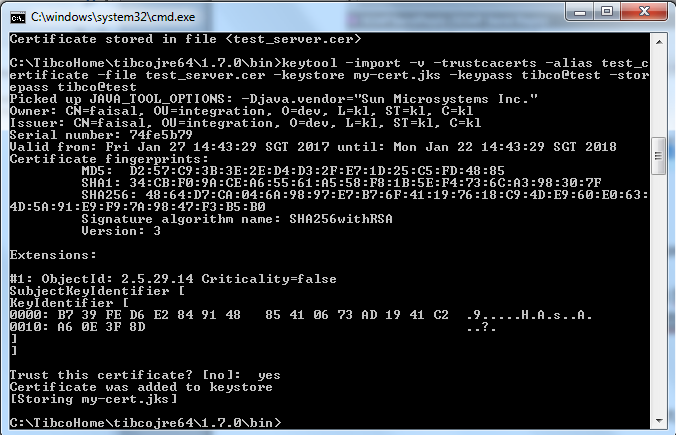
Now import and Install the certificate on client using same java key tools
keytool -import -v -trustcacerts -alias test_certificate -file test_server.cer -keystore my-cert.jks -keypass tibco@test -storepass tibco@test
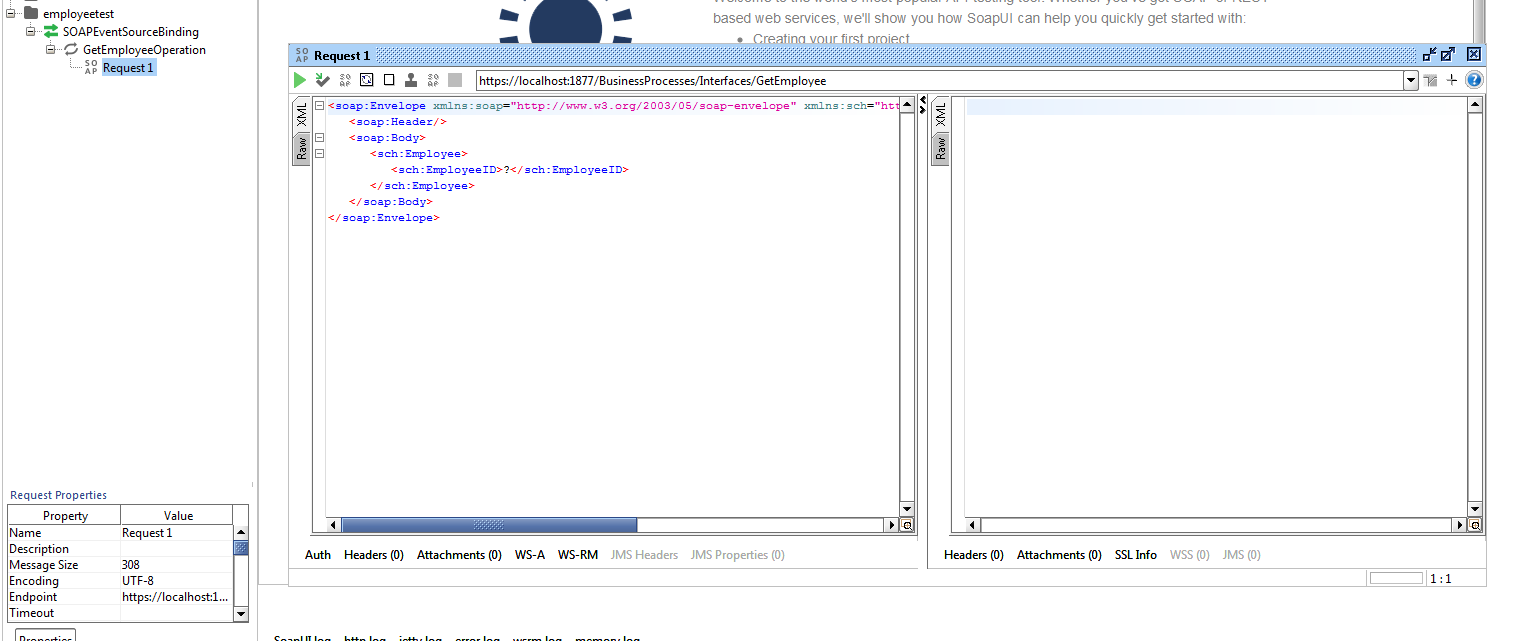
Now open Soap UI and add new project, provide wsdl file that you saved